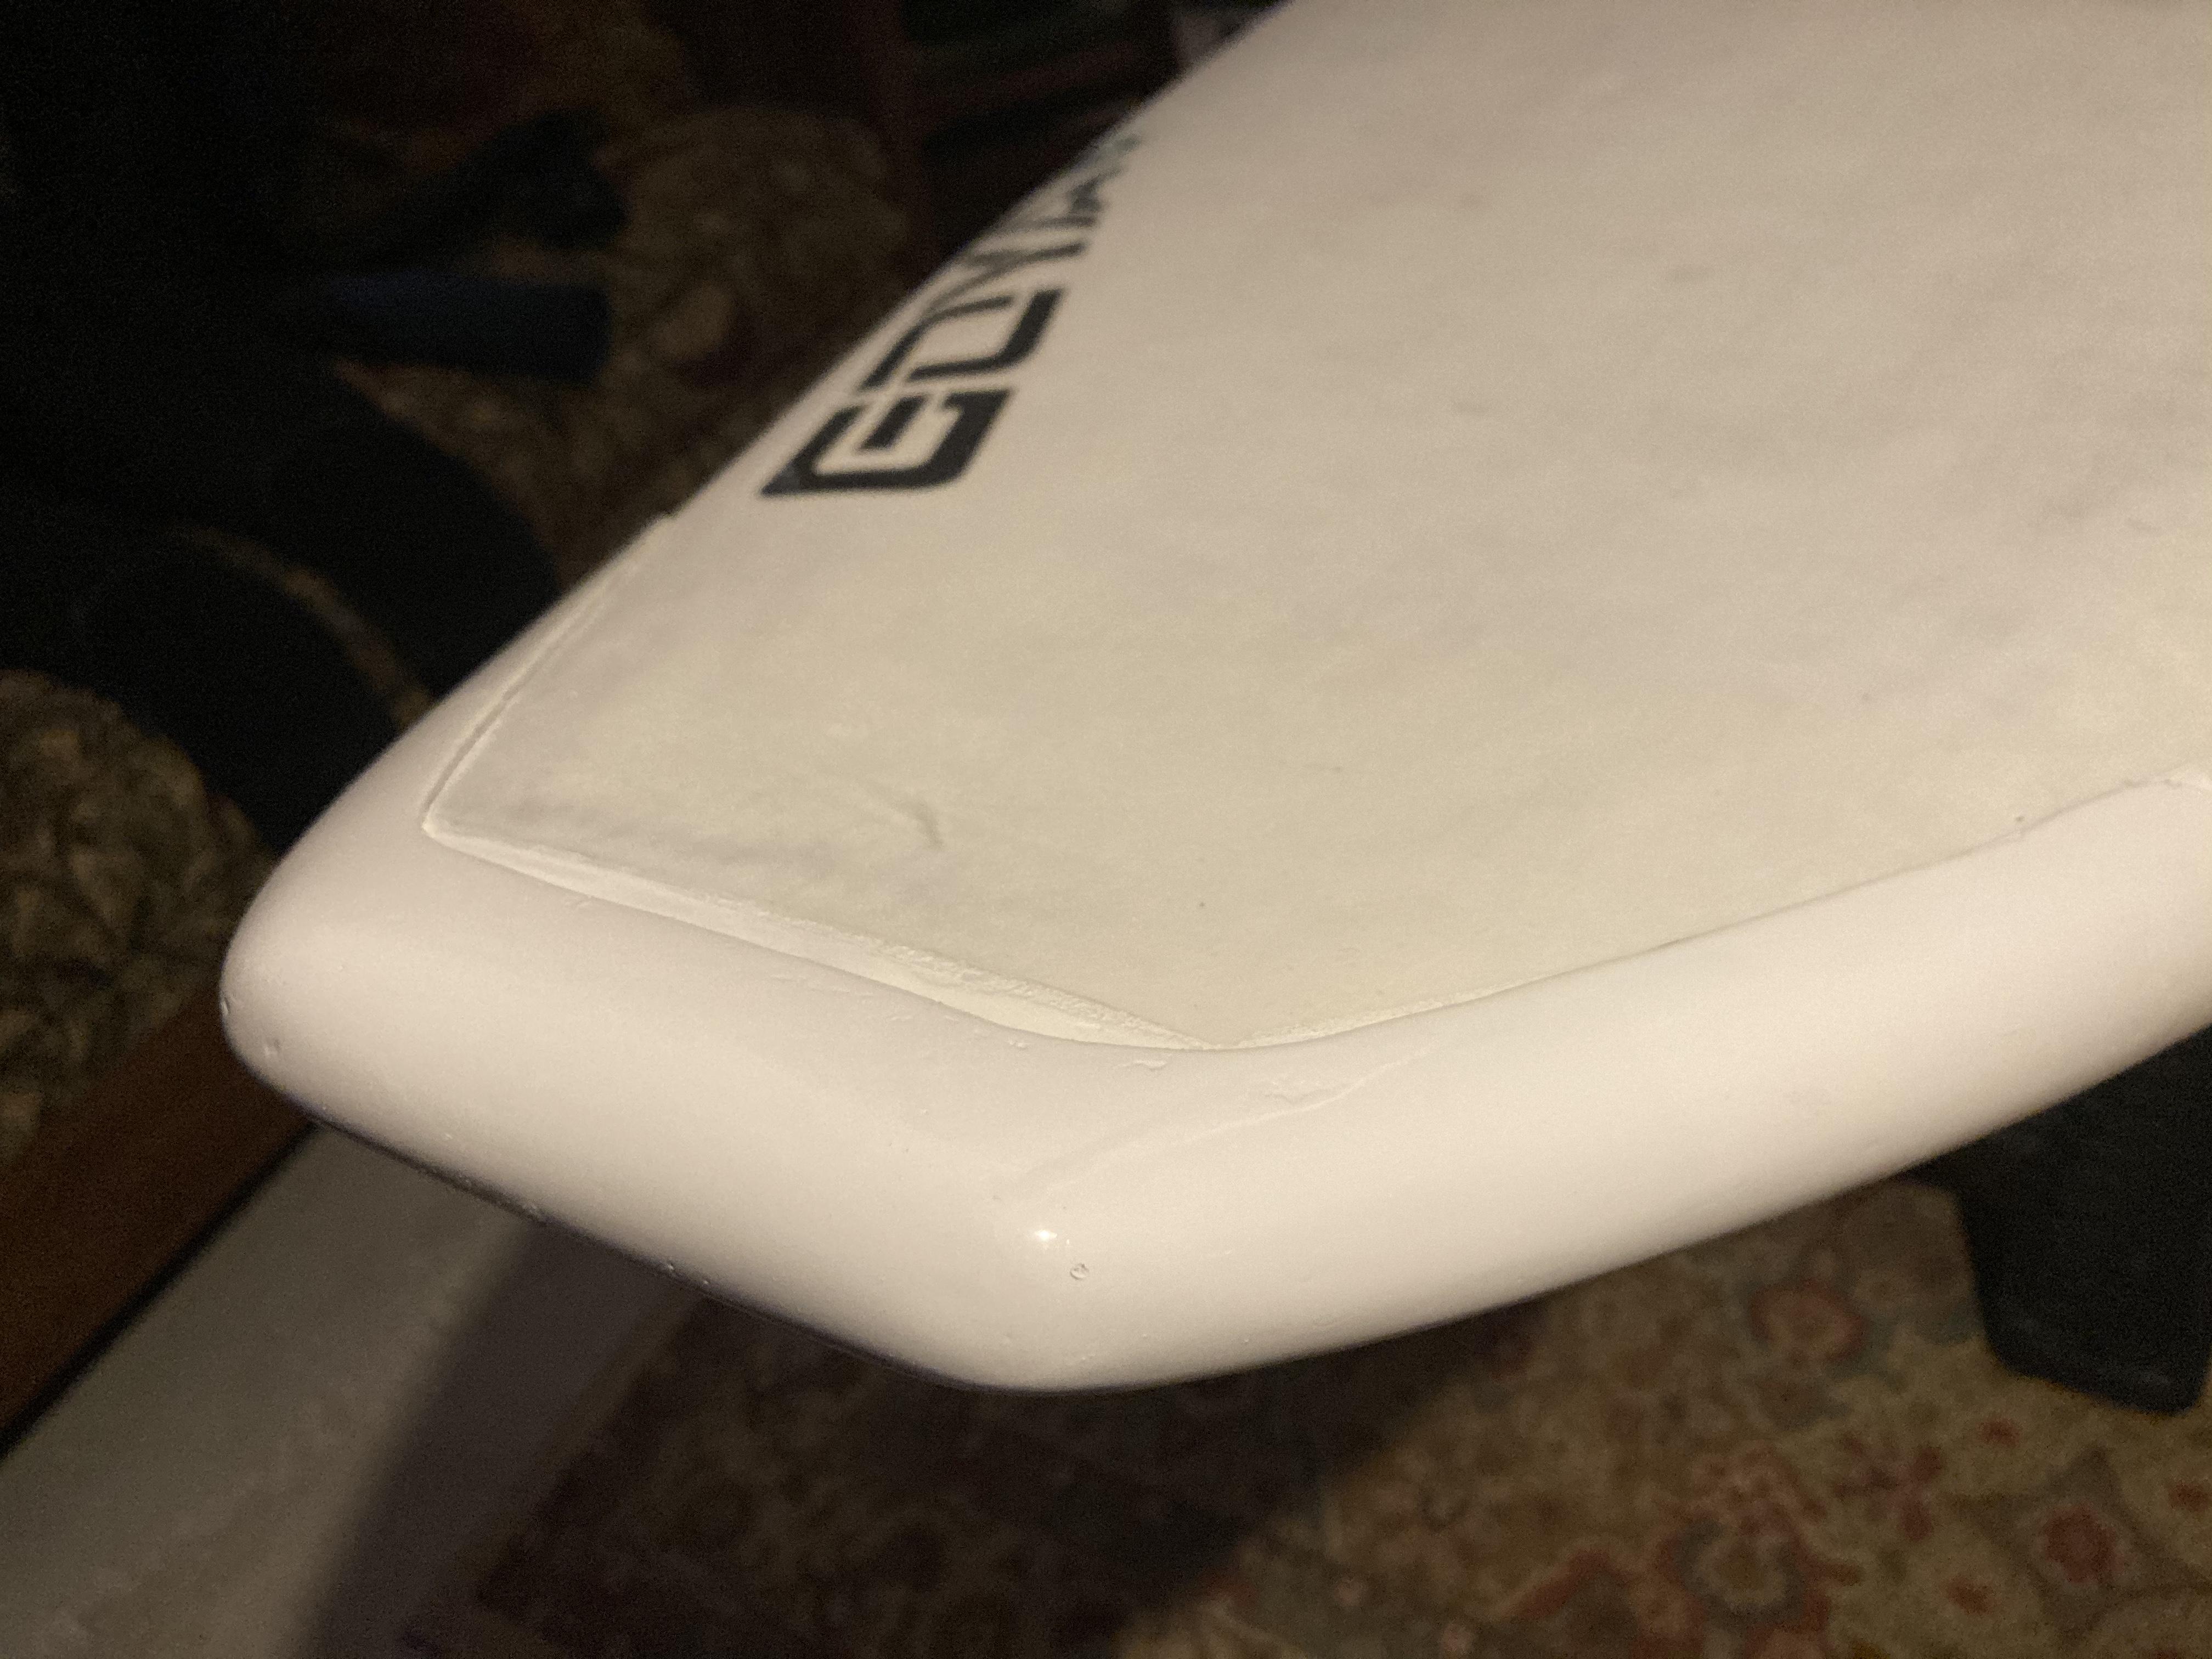
How to make a custom nose guard for your board

Home Page Discussion Forum SUP and Non Wind Discussion How to make a custom nose guard for your board

Viewing 1 reply thread
  • Author
    Posts
    • #39428
      Scott
      Participant

      Supplie needed

      Recently I noticed a suspicious crack in the nose of my 86 liter Goya short board. With the cold weather approaching and lots of covid downtime I inspected the crack a bit closer and found that indeed I had crushed the nose at some point. So I broke out my dremel tool and proceeded to repair it. After routing out the wet foam and broken fiberglass I patched it up and decided to make a nose guard to reinforce the repair.

      The picture above shows the nearly finished nose guard that just needs some spot putty and a coat of paint before gluing it to the boards nose!

      This was a tedious process as I had never done this before. So I’ll just give the cliff notes review of how I did it.

      1. Use the nose of your board for the as a mold by covering it with shrink wrap window plastic.

      2. Paint two part epoxy on to the area where the guard will go. This is painted right onto the shrink wrap. You can thicken the epoxy a bit to prevent it from running.

      3. Allow the epoxy to harden to a point where it is tacky to the touch but doesn’t stick and come off on your fingers. Then take some fiberglass mat in a long single strip and press into the tacky epoxy making a couple slits to help it bend around the nose.

      4. I chose to dab on un-thickened epoxy onto the fiberglass mat at this point. My mat didn’t stick very well  to the contour of the board so I used plastic packing tape to hold it in place going right over the resin. Resin doesn’t stick to plastic after hardening.

      5. After the epoxy resin hardens remove the packing tape carefully. Make sure to remove the overlapping tape pieces in exactly the reverse order that they were applied. This part is tricky.

      6. Now you just have to build up the thickness of the fiberglass with a couple coats of epoxy resin. I used one un-thickened layer of resin and another thickened layer.

      7. The cured thickened epoxy can be sanded and shaped to smooth it out.

      8. I then used some Marine Tex and coated the whole thing making another easy to sand and smooth layer to get any lump and bumps out. I have a ski file for doing ski base flattening that make quick work of the shaping and then follow with a orbital sander.

      9. All the above steps are done with the nose guard on the board. Next step is to carefully remove it. But before doing this I quickly outline a pencil line using a compass about an 1 1/2 inches from the edge so the rough glass edge can be cleanly ground away for a finished appearance.  Then I used a plastic putty spreader to slide between the hardened glass and the board to pry it off.

      10. Using the sanding drum attachment of my dremel tool ( the cutting bit can be too aggressive) and grind or sand away the rough edge. Follow with sandpaper to finish the edge.

      11. This is the point I’m at in the picture. I will follow with a glazing putty to get the smallest irregularities out and finally paint with a box store epoxy appliance spray paint.  I’ll then glue it on with epoxy resin. Not sure if I’ll thicken it or not. Could be hot glued on too I suppose!

      Well not exactly Cliff note worthy but you get the idea!

      ** Since the nose of this particular board is square-ish much like the stubby boards I did apply a small length of fiberglass woven cloth at the very nose as this didn’t have to conform to any hard bends.

      Ride On Sailor and don’t be afraid to make your own repairs! You will trash your board at some point!


      • This topic was modified 3 years, 5 months ago by Scott. Reason: because I suck at writing
    • #39433
      Scott
      Participant

      Guard in place

      Here is the final product, sanded, painted and epoxied in place. I used a thickened epoxy to glue it on. I like the way it turned out!

Viewing 1 reply thread
  • You must be logged in to reply to this topic.